

Shop reproduction decals for Triumph 500, 650 and 750 twins. They cover the tank and side panels, oil tank, air cleaner, seat and instrument panel. Most designs come in two forms:
- Water-slide transfers: these have part numbers starting TBS-S. They’re the thin, original-looking choice, and you can clear-coat over them.
- Peel-and-stick: these have part numbers starting TBS-P. They’re quicker to apply but more visible on the paint.
Where the original Triumph part number is known (60-xxxx), it’s in the product title. See the application guide below the grid, and our step-by-step water-slide guide.
Review All Vintage Triumph Decals & Transfers Topics
Table of Contents




Triumph ‘Important Positive Earth’ Under Seat Waterslide Decal(s) Bonneville TR6 PN# TBS-S105 60-0052
$5.71 – $7.10Price range: $5.71 through $7.10



Triumph <> Sidepanel Toolbox Waterslide Decal(s) T100 500 PN# TBS-S123
$5.71 – $7.10Price range: $5.71 through $7.10


Triumph 350 500 650 750 Script Peel and Stick Decal Sticker(s) PN# 60-0061
$9.80 – $13.07Price range: $9.80 through $13.07

Triumph 350 500 650 Minimum Oil Level Peel and Stick Decal(s) PN# 60-0003 P
$11.75 – $15.92Price range: $11.75 through $15.92

Triumph 500 650 750 Bonneville Tiger etc ‘Made in England’ Script Decal(s) PN# 60-3361 TBS-0126
$9.54 – $13.96Price range: $9.54 through $13.96

Triumph 500 650 Bonneville Tiger etc – Minimum Oil Level – Tank Waterslide Decal(s) PN# TBS-S114 60-0003
$5.71 – $7.10Price range: $5.71 through $7.10

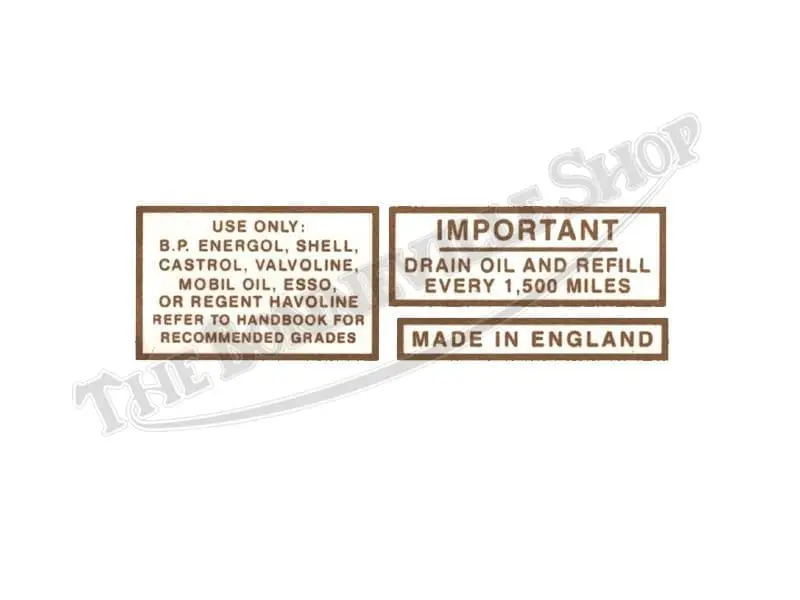
Triumph 500 650 Bonneville Tiger etc Oil Tank Top Waterslide Decal(s) PN# TBS-S120 60-1816
$5.71 – $7.10Price range: $5.71 through $7.10

Triumph 500 650 TR6C T100C ‘Trophy Sports’ Waterslide Decal(s) PN# TBS-S117
$5.71 – $7.10Price range: $5.71 through $7.10

Triumph 500 650 Valve Clearances Under Seat Decal(s) Sticker PN# TBS-S126
$7.48 – $10.41Price range: $7.48 through $10.41

Triumph 650 750 ‘BONNEVILLE’ Block Letter Petrol Tank Waterslide Decal(s) PN# TBS-S118
$5.71 – $7.10Price range: $5.71 through $7.10
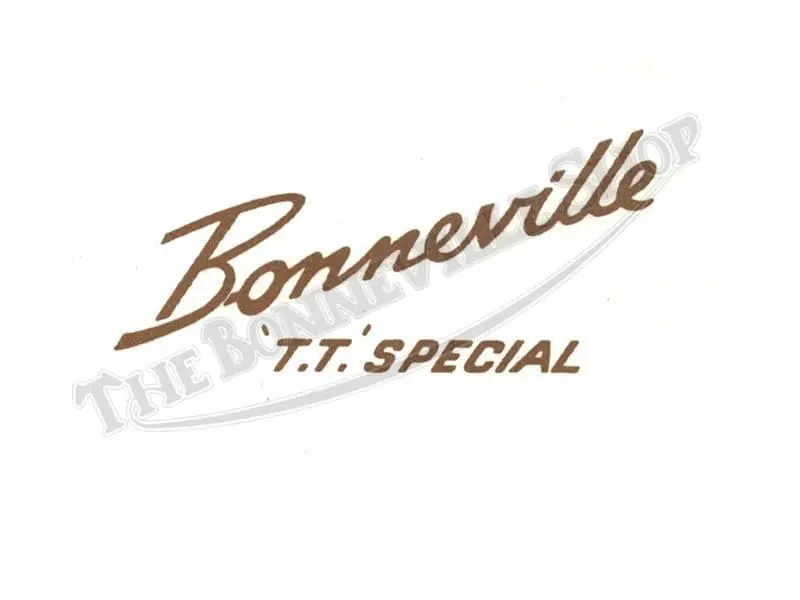
Triumph 650 Bonneville TT Special Decal(s) 1964-67 PN# TBS-S125
$12.06 – $19.01Price range: $12.06 through $19.01

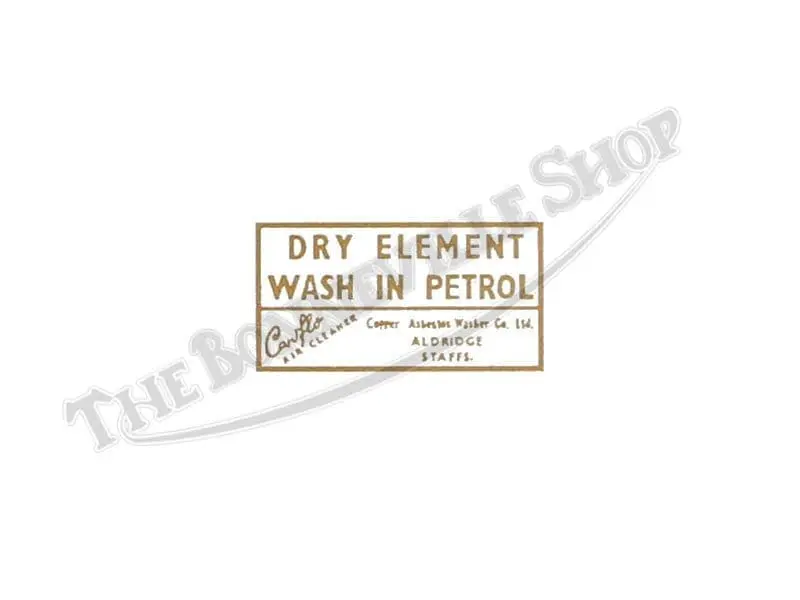
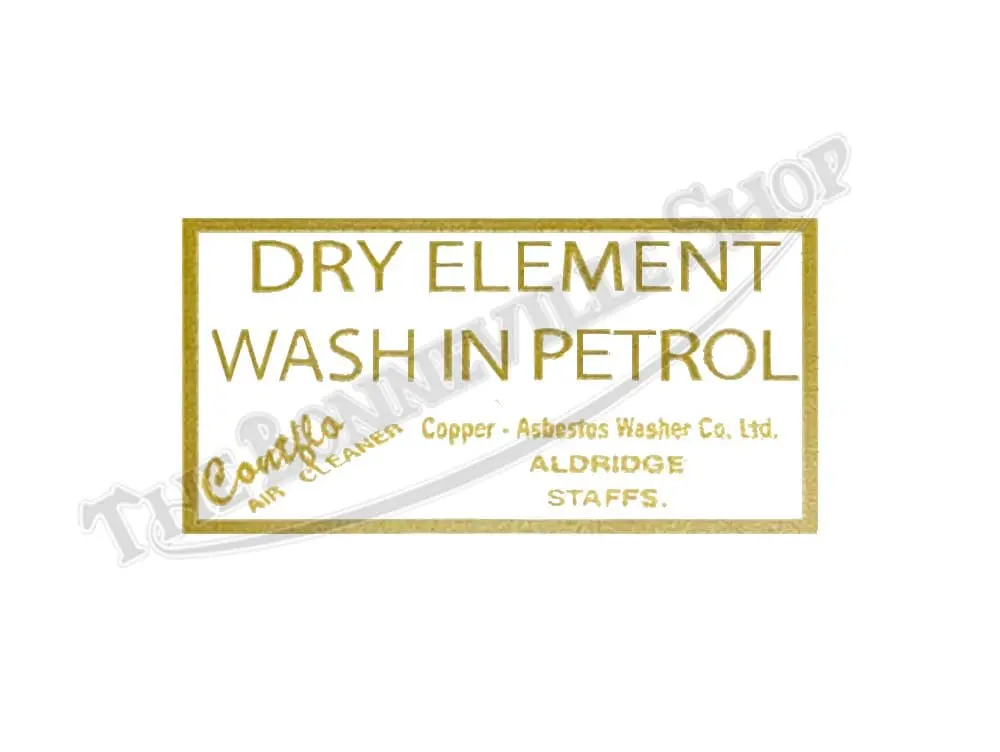
Triumph Air Cleaner ‘Dry Element Wash In Petrol’ Vinyl Decal(s) 1967-1970 PN# TBS-S129
$6.33 – $8.24Price range: $6.33 through $8.24


Triumph Bonneville 120 Script Sticker Decal(s) PN# Sticker-0021
$7.48 – $10.41Price range: $7.48 through $10.41


Triumph Bonneville Block Letter Toolbox Sidepanel Waterslide Decal(s) PN# TBS-S119
$5.71 – $7.10Price range: $5.71 through $7.10

Triumph Bonneville Script Logo Toolbox Peel and Stick Decal(s) PN# TBS-P104 60-0680
$6.73 – $9.00Price range: $6.73 through $9.00

Triumph Bonneville Script Logo Toolbox Waterslide Decal(s) 650 PN# TBS-S104 60-0680
$5.71 – $7.10Price range: $5.71 through $7.10
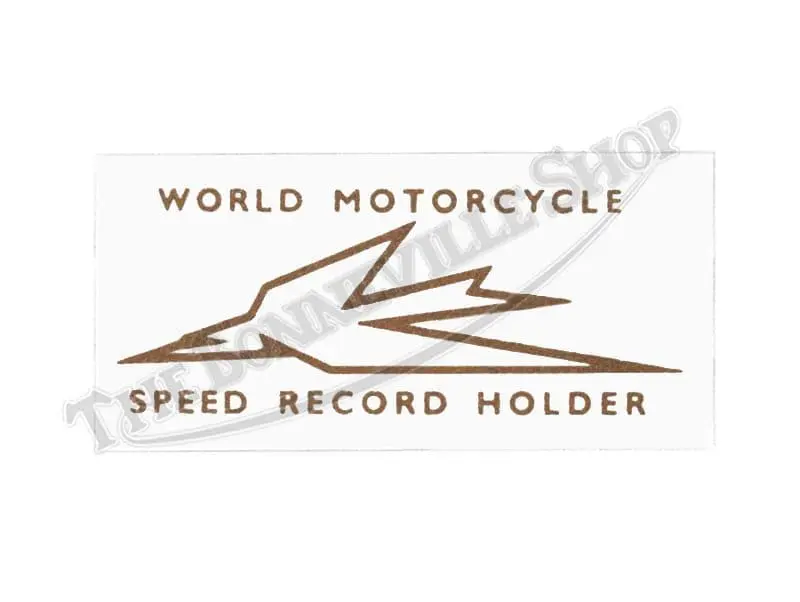

Triumph Bonneville T120 World Motorcycle Speed Record Holder Tank Fork Waterslide Decal(s) PN# 60-0056 TBS-S100
$5.95 – $7.55Price range: $5.95 through $7.55
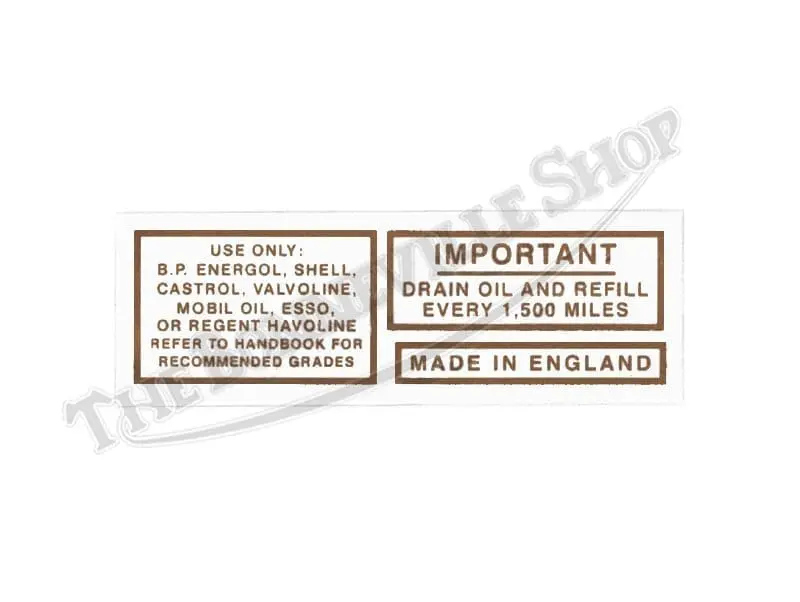
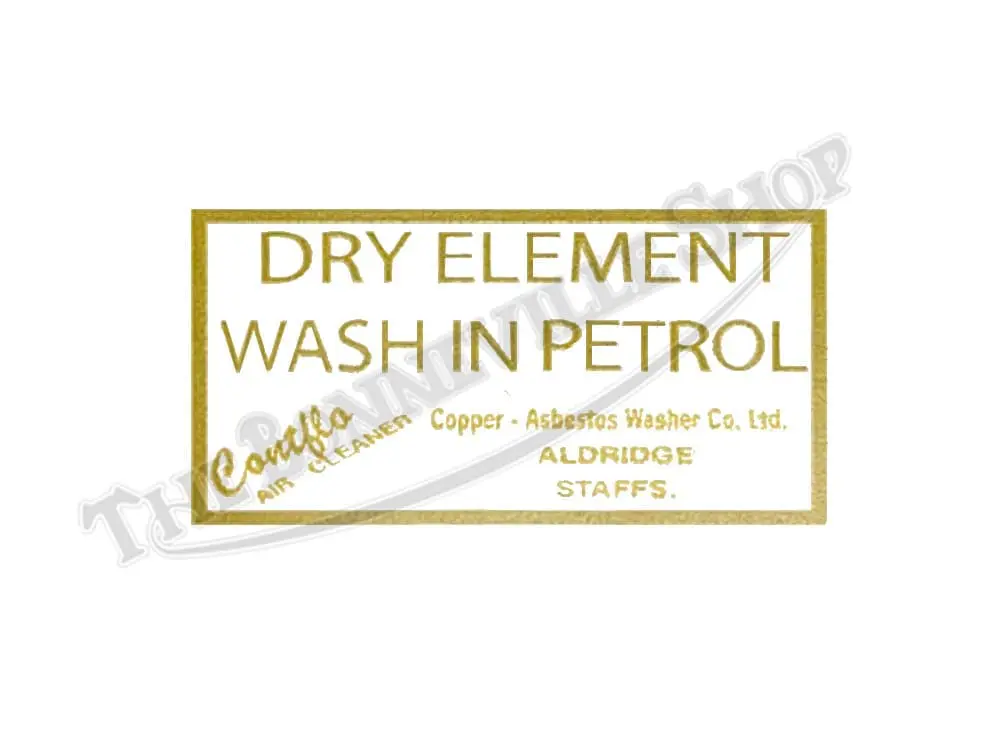
Triumph BSA Air Cleaner ‘DRY ELEMENT WASH IN PETROL’ Waterslide Decal PN# TBS-S113
$5.71 – $7.10Price range: $5.71 through $7.10

Triumph Important Negative Earth Waterslide Seat Decal(s) Bonneville 1979-88 PN# TBS-S106 60-7159
$5.71 – $7.10Price range: $5.71 through $7.10
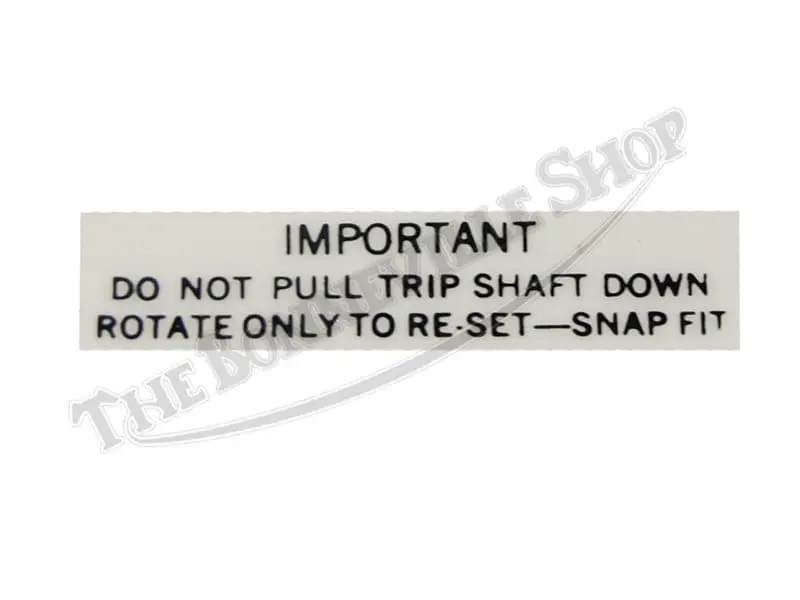
Triumph Norton BSA Smiths Trip Meter Reset Decal(s) PN# TBS-9421 TBS-24-100
$8.01 – $11.77Price range: $8.01 through $11.77

Triumph T100 <> Script Sidepanel Waterslide Decal(s) PN# TBS-S111
$5.71 – $7.10Price range: $5.71 through $7.10

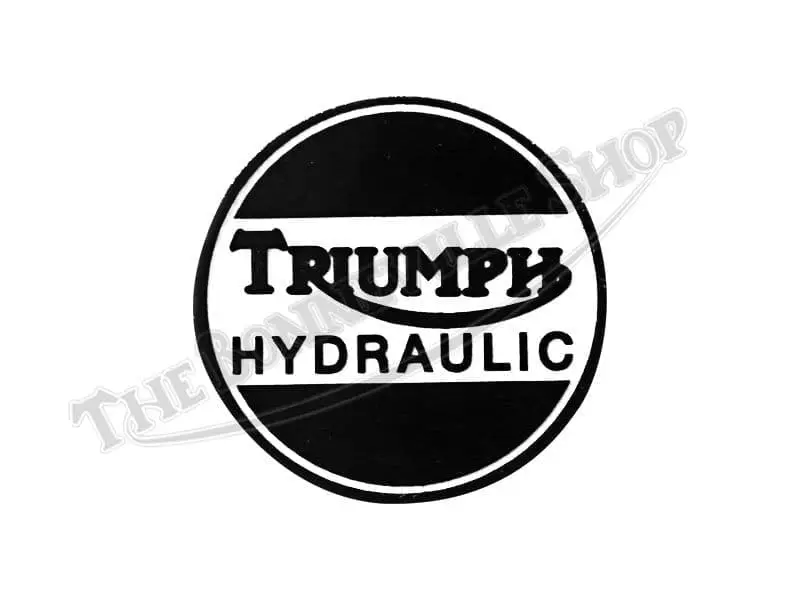
Triumph T140 TR7 T160 Brake Caliper Cover Hydraulic Decal(s) PN# 60-4156
$7.10 – $9.70Price range: $7.10 through $9.70

Triumph Thunderbird 6T Black World Motorcycle Speed Record Holder Peel and Stick Tank Decal Sticker(s) PN# 60-0056A D56A A56A
$9.99 – $22.71Price range: $9.99 through $22.71

Triumph Tiger 100 T100S Waterslide Decal(s) 1968-1969 PN# TBS-S131
$6.33 – $8.24Price range: $6.33 through $8.24

Triumph Tiger 500 T100R Vinyl Waterslide Decal(s) 1968-1970 PN# TBS-S127
$6.33 – $8.24Price range: $6.33 through $8.24



Triumph TR6 ‘Trophy 650’ Fuel Tank Waterslide Decal(s) Block Letter PN# TBS-S122
$5.71 – $7.10Price range: $5.71 through $7.10


Triumph TR6 ‘Trophy 650’ Toolbox Sidepanel Waterslide Decal(s) PN# TBS-S121
$5.71 – $7.10Price range: $5.71 through $7.10

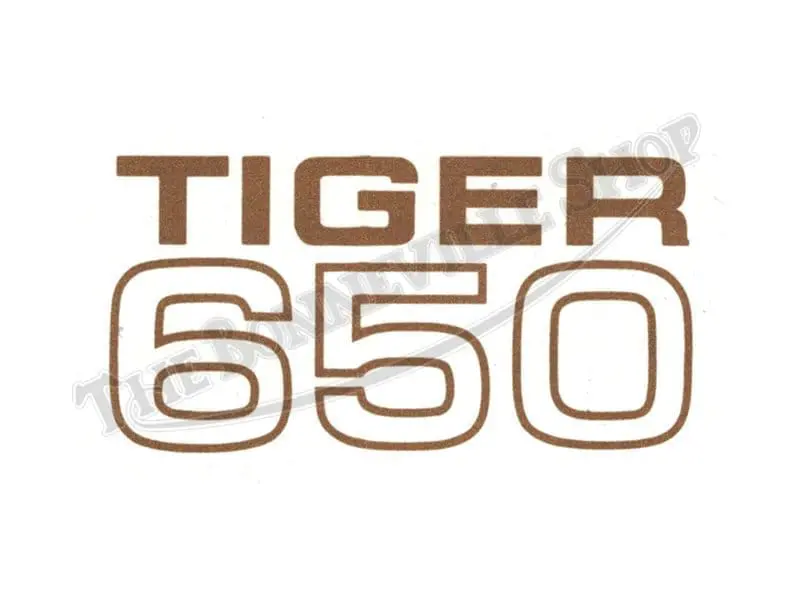
Triumph TR6 Tiger 650 Petrol Tank Waterslide Decal(s) PN# TBS-S116 60-2102
$5.71 – $7.10Price range: $5.71 through $7.10
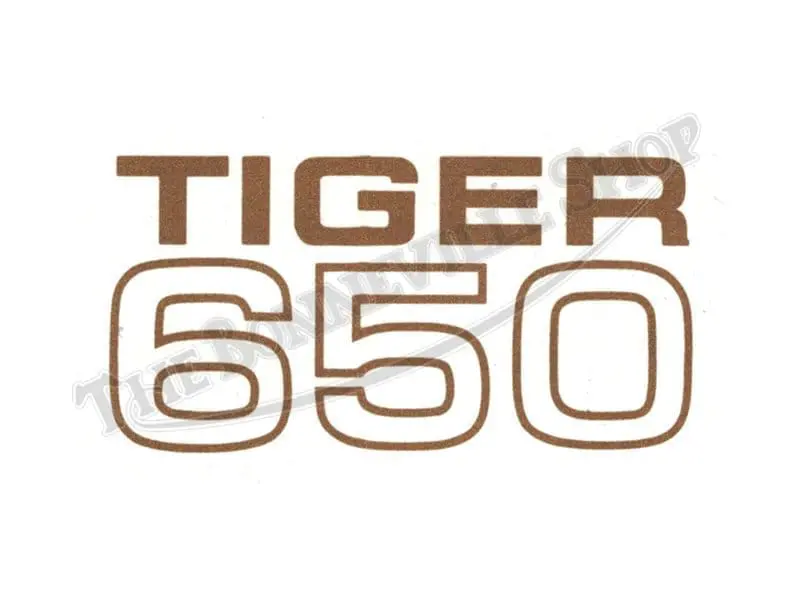
Triumph TR6 Tiger 650 Toolbox/Sidepanel Waterslide Decal(s) PN# TBS-S115 60-2102
$5.71 – $7.10Price range: $5.71 through $7.10

Triumph Trophy 500 T100C Petrol Tank Decal(s) Block Letter Waterslide PN# 60-2064 TBS-S103
$5.71 – $7.10Price range: $5.71 through $7.10

Triumph Trophy 500 T100C Side Cover Decal(s) Block Letter Waterslide PN# 60-2105 TBS-S102
$5.71 – $7.10Price range: $5.71 through $7.10

Triumph Trophy 650 TR6R Waterslide Decal(s) 1968 PN# TBS-S128 60-1920
$6.33 – $8.24Price range: $6.33 through $8.24

Triumph Trophy Special TR6C Waterslide Decal(s) 1968 PN# TBS-S130
$6.33 – $8.24Price range: $6.33 through $8.24

What Makes Vintage Triumph Decals Different
Badges on the tank, decals almost everywhere else
- Tanks: Meriden-era tanks mostly carried chrome badges rather than decals. There was the “mouth organ” from about 1957 to 1965, then the “eyebrow” for 1966–67, then the “picture frame” from the late 1960s to 1979. Decals returned to some 1979–83 models (Run Motor Run – Triumph logo history). Shop tank badges and Triumph tank parts.
- Elsewhere: decals named the model on side panels (toolboxes), oil tanks, air cleaners, seat pans and instrument panels.
Many decals did a job
Several Triumph decals are instructions or warnings, not decoration:
- Minimum Oil Level on the oil tank
- “Dry Element – Wash in Petrol” on the air cleaner
- valve clearances under the seat
- the hydraulic brake caliper cover
- Smiths trip-meter reset
The electrical decals warn about polarity
Triumphs were positive earth until 1979, when the T140 switched to negative earth (webBikeWorld). The under-seat warning decal tells anyone connecting a battery or charger which terminal goes to the frame:
Fit the one that matches how the bike is wired now, and see Triumph electrical for polarity-sensitive parts.
The speed-record decal tells the Bonneville story
On September 6, 1956, Johnny Allen rode the Texas Cee-gar streamliner, powered by a 650 Triumph Thunderbird engine, to 214.17 mph on the Bonneville Salt Flats (Cycle News). The FIM refused to ratify the record in 1957 because the timing gear lacked its seal of approval (AMCN). Triumph still advertised the record, and the “World Motorcycle Speed Record Holder” decal comes from that (AMA Hall of Fame – Johnny Allen). It’s available as a water-slide, as a peel-and-stick, and in black for the 6T Thunderbird.
Designs changed by model and year
- Lettering styles: script, block letter and cursive styles belong to particular models and years. For example, the 1968 TR6R used cursive Trophy 650 (60-1920), and the 1968 TR6C used Trophy Special (60-0679).
- Other markings: these follow the specification too, such as the Five Speed fender decal and the 1978.5–82 T140/TR7 instrument panel decal.
- Check before buying: use the Triumph parts books or photos of an original bike.
Water-Slide vs. Peel-and-Stick
| Water-slide (TBS-S) | Peel-and-stick (TBS-P) | |
|---|---|---|
| Look | Very thin film. It looks painted on, especially under clear coat. | A thicker film with a visible edge. |
| Positioning | Slides on water, so you can adjust it before it sets. | The adhesive grabs on contact unless the maker allows a wet application. |
| Clear coat | Designed to be clear-coated. | Can be clear-coated with suitable products (Classic Transfers). |
| Durability without clear | Fragile, and easily scratched or lifted by fuel. | Tougher, but edges can lift. |
| Best for | Concours restorations and freshly painted parts. | Riders, quick refreshes, and under-seat or air-cleaner locations. |
Pairs offered in both forms include:
- Bonneville 120 script: S0022 and P0022
- Bonneville block letter (tank): S118 and P118
- Minimum Oil Level: S114 and P114
- TR6 Tiger 650 (tank): S116 and P116
How to Apply Triumph Decals Without Problems
Read our Tech Blog: Application Techniques for Waterslide Decals
Preparation (both types)
- Let fresh paint cure. Classic Transfers suggests leaving new paint about a week, because transfers applied too soon can bubble (Classic Transfers).
- Clean the surface. Remove wax, polish, oil and dust. Wipe with a tack cloth just before applying. A speck of dust under a sticker leaves a permanent “pimple” (our water-slide guide).
- Mark the position. Use small pieces of masking tape as guide marks. Take position from the parts book, a factory photo, or the matching panel on the other side.
- Work at room temperature. Most vinyl makers specify roughly 50–90°F for both the air and the surface (FASTSIGNS vinyl care sheet (PDF)). Water-slide decals also behave best at room temperature.
- Rehearse first. If you’ve never applied a water-slide decal, practice on a spare decal or the scrap border of a sheet.
Applying a water-slide decal (TBS-S)
- Trim. Cut close to the artwork to minimize visible clear film, especially if you won’t clear-coat (our guide).
- Soak briefly. Dip it in lukewarm water for about 5–10 seconds, or lay it on a wet cloth and mist the top (our guide). Don’t use hot water, and don’t leave it submerged for more than a minute, or the film can separate and tear (Kadee decal instructions (PDF)).
- Slide, don’t lift. Hold the decal against the panel and slide the backing paper out from under it. Lifting the film off by itself folds and tears it.
- Float it into place. Keep the panel wet so the decal can be nudged into position. If it starts to stick, add water at the edge.
- Push out water and air. Work from the center outward with a soft cloth or rubber squeegee, then blot (Phoxy Design). A stubborn bubble can be eased with very gentle warmth from a hair dryer (our guide).
- Curved surfaces. A decal setting solution such as Micro Set improves adhesion and helps the film conform (Microscale (PDF)). Test it on a spare piece first, because softeners can wrinkle some films.
- Dry fully. Leave it overnight, and allow at least 24 hours before clear-coating (Classic Transfers).
Clear-coating over a water-slide decal
- Compatible clears: two-pack (2K) lacquer and clear oil-based varnish both work over water-slide and vinyl transfers.
- Clears to avoid: clear cellulose and single-pack acrylic sprays can make transfers shrink.
- How to spray: start with light mist coats, then build to full coats (Classic Transfers; Rothko and Frost).
- Test first: always test your clear on a spare decal.
- Petrol resistance: oil-based varnish can take one to two weeks to cure before it resists petrol (Classic Transfers). For anything near the filler cap, use a fuel-resistant 2K clear.
Applying a peel-and-stick decal (TBS-P)
- Clean. Wipe with isopropyl alcohol, not an ammonia glass cleaner, and let it dry.
- Position. Peel back a corner or one edge of the backing, line it up with your tape marks, and stick that edge first.
- Smooth. Peel the rest of the backing away gradually while smoothing from the stuck edge outward with a soft squeegee or a cloth-wrapped card.
- Wet application. Spraying the panel with water and a drop of dish soap lets vinyl slide into position before it grabs (FASTSIGNS (PDF)). But 3M advises using the wet method only when the film maker recommends it (3M Instruction Bulletin (PDF)). Try it on a spare first.
- Edges. Press the edges down firmly. Don’t wash the bike or let fuel near it for a day or two.
Common Decal Problems and Fixes
| Problem | Likely cause | Fix |
|---|---|---|
| Water-slide decal won’t release | Not soaked long enough | Give it a few more seconds in the water. Don’t force it. |
| Decal tore or folded | Lifted off the paper instead of slid, or soaked too long | Slide the paper out from under it. Keep the soak short. |
| Wrinkles on a curved panel | Film too stiff, or moved after it started to set | Keep it wet while positioning. Use a setting solution, tested first. |
| Cloudy or silvery film | Air trapped under the film, or a dull surface | Apply to a smooth gloss surface. Squeegee from the center. Clear-coat to blend. |
| Bubbles or “pimples” | Dust, or paint not fully cured | Prep with a tack cloth. Wait for the paint to cure. |
| Decal shrank or crazed under clear | Cellulose or 1K acrylic clear, or clear applied too soon | Use 2K or oil varnish after 24 hours. Mist coats first. |
| Visible clear border | Untrimmed carrier film | Trim close, then clear-coat over the whole panel. |
| Peel-and-stick edge lifting | Wax or oil on the surface, cold surface, edges not pressed | Clean with alcohol. Apply at room temperature. Burnish the edges. |
| Damaged by petrol | No fuel-resistant clear coat | Clear with a fuel-resistant 2K over tank decals. |
| Wrong lettering for the bike | The design differs by model and year | Check the 60-xxxx part number against the parts book. |
Shop by Model and Location
Bonneville
- Tank and toolbox: Bonneville 120 script, water-slide, Bonneville 120 script, peel-and-stick, Bonneville 120 script sticker, Bonneville script toolbox, water-slide (60-0680) and peel-and-stick
- Block letter: tank, water-slide, tank, peel-and-stick, side panel, water-slide and side panel, peel-and-stick
- Bonneville TT Special, 1964–67
TR6 Tiger and Trophy 650
- Tiger 650: tank, water-slide (60-2102), tank, peel-and-stick, side panel, water-slide and side panel, peel-and-stick
- Trophy 650: tank, water-slide, tank, peel-and-stick, side panel, water-slide, side panel, peel-and-stick, 1968 TR6R cursive, water-slide and peel-and-stick
- Trophy Special and Trophy Sports: Trophy Special TR6C 1968, water-slide, Trophy Special, peel-and-stick, Trophy Sports TR6C/T100C, water-slide and peel-and-stick
500 twins: Tiger 100, Daytona, Trophy 500
- Tiger 100: Tiger 100 T100S, 1968–69, Tiger 500 T100R, 1968–70 and T100 script side panel
- Daytona: tank and side panel
- Trophy 500 T100C block letter: tank (60-2064) and side cover (60-2105)
Decal sheets
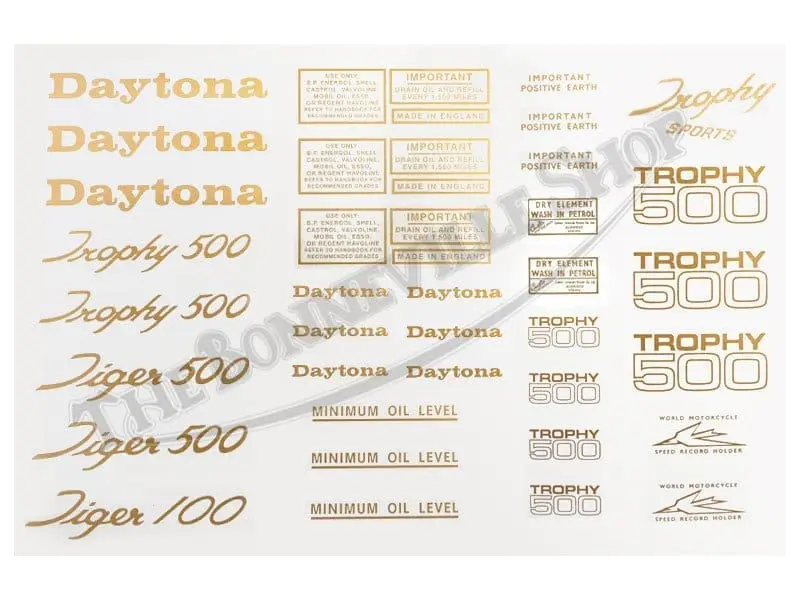
- 650 water-slide sheet, 1966–70 (about 11″ × 17″): tank, oil tank, side cover, headlamp mount, air cleaner and seat pan decals
- 500 T100 water-slide sheet
Oil tank, air cleaner and seat
- Oil tank: Minimum Oil Level, water-slide, peel-and-stick (P114), peel-and-stick (60-0003 P), oil tank top, water-slide (60-1816) and peel-and-stick
- Air cleaner (“Dry Element – Wash in Petrol”): water-slide, peel-and-stick and vinyl, 1967–70
- Seat: valve clearances under-seat decal, Positive Earth and Negative Earth 1979–88
750s, instruments and identity
- 750s and instruments: T140/TR7 instrument panel, 1978.5–82, Five Speed rear fender, hydraulic caliper cover and Smiths trip reset
- Made in England and script decals: Made in England script, 60-3361 and Triumph script peel-and-stick, 60-0061
- Speed record: the water-slide, peel-and-stick and 6T black versions
Related Categories
Tank badges · Triumph tank · Triumph seats · Triumph frame · Triumph oil & air · Triumph instruments · Triumph electrical · Triumph parts books · Triumph manuals · Accessories · Vintage Triumph parts · BSA decals · Norton decals
Brands: British Iron · Tri-Cor
Guide: How to apply a water-slide decal
Further Reading (external)
- Classic Transfers – do’s and don’ts of overcoating transfers
- Microscale – decal setting solutions (PDF)
- Kadee – water-slide decal instructions (PDF)
- FASTSIGNS – applying vinyl graphics (PDF)
- Run Motor Run – Triumph logo and badge history
- AMCN – Heroes of Bonneville
- Cycle News – Johnny Allen’s 1956 record
Vintage Triumph Decals FAQs
What’s the difference between water-slide and peel-and-stick Triumph decals?
A water-slide decal is a very thin film that releases from its paper in water and is slid into place. It looks painted on and is meant to be clear-coated. A peel-and-stick decal has its own adhesive, is quicker to apply, and is thicker, with a more visible edge. Our water-slide part numbers start TBS-S, and peel-and-stick part numbers start TBS-P.
Which type is more original-looking?
Water-slide, especially when clear-coated, because the film nearly disappears into the paint. For concours restorations it’s the usual choice.
Do I have to clear-coat water-slide decals?
It’s strongly recommended. Uncoated water-slide film is fragile, and fuel or polish can damage it. Clear coat also hides the film’s edge.
What clear coat can I use over decals?
Two-pack (2K) lacquer or clear oil-based varnish. Avoid clear cellulose and single-pack acrylic sprays, which can make transfers shrink. Wait at least 24 hours after applying, start with mist coats, and test on a spare decal.
How long should I soak a water-slide decal?
About 5–10 seconds in lukewarm water, or until the film just starts to slide. Too long, and the film can separate and tear. Never use hot water.
Why did my decal wrinkle, tear or go cloudy?
Wrinkles usually mean it was moved after it started to set. Tears mean it was lifted rather than slid, or soaked too long. Cloudiness (silvering) is air trapped under the film or a dull surface. Apply to smooth, cured gloss paint and squeegee from the center.
Can I apply decals to freshly painted parts?
Let the paint cure fully first, about a week for most paints. Transfers applied too soon can bubble.
How do I get a peel-and-stick decal straight?
Mark the position with masking tape, stick one edge first, then peel the backing away while smoothing outward. Some vinyls can be applied wet with soapy water so they can be adjusted, but test first.
Are these decals petrol-proof?
Not on their own. On or near the tank, cover them with a fuel-resistant 2K clear coat. Oil-based varnish can take one to two weeks to become petrol-resistant.
Which Triumphs had decals on the tank?
Most Meriden twins used chrome tank badges, with decals on side panels, oil tanks and air cleaners. Some models, including certain US-market and later 1979–83 bikes, carried tank decals. Check the parts book for your model and year.
What does the Positive Earth or Negative Earth decal mean?
It warns that the frame connects to that battery terminal. Triumphs were positive earth until 1979 and negative earth after. Fit the decal that matches how the bike is wired now.
What is the World Motorcycle Speed Record Holder decal?
It celebrates Johnny Allen’s 214 mph run at Bonneville in September 1956, in a streamliner powered by a 650 Triumph Thunderbird engine. The record inspired the Bonneville name and appeared in Triumph’s advertising.